Table of Contents
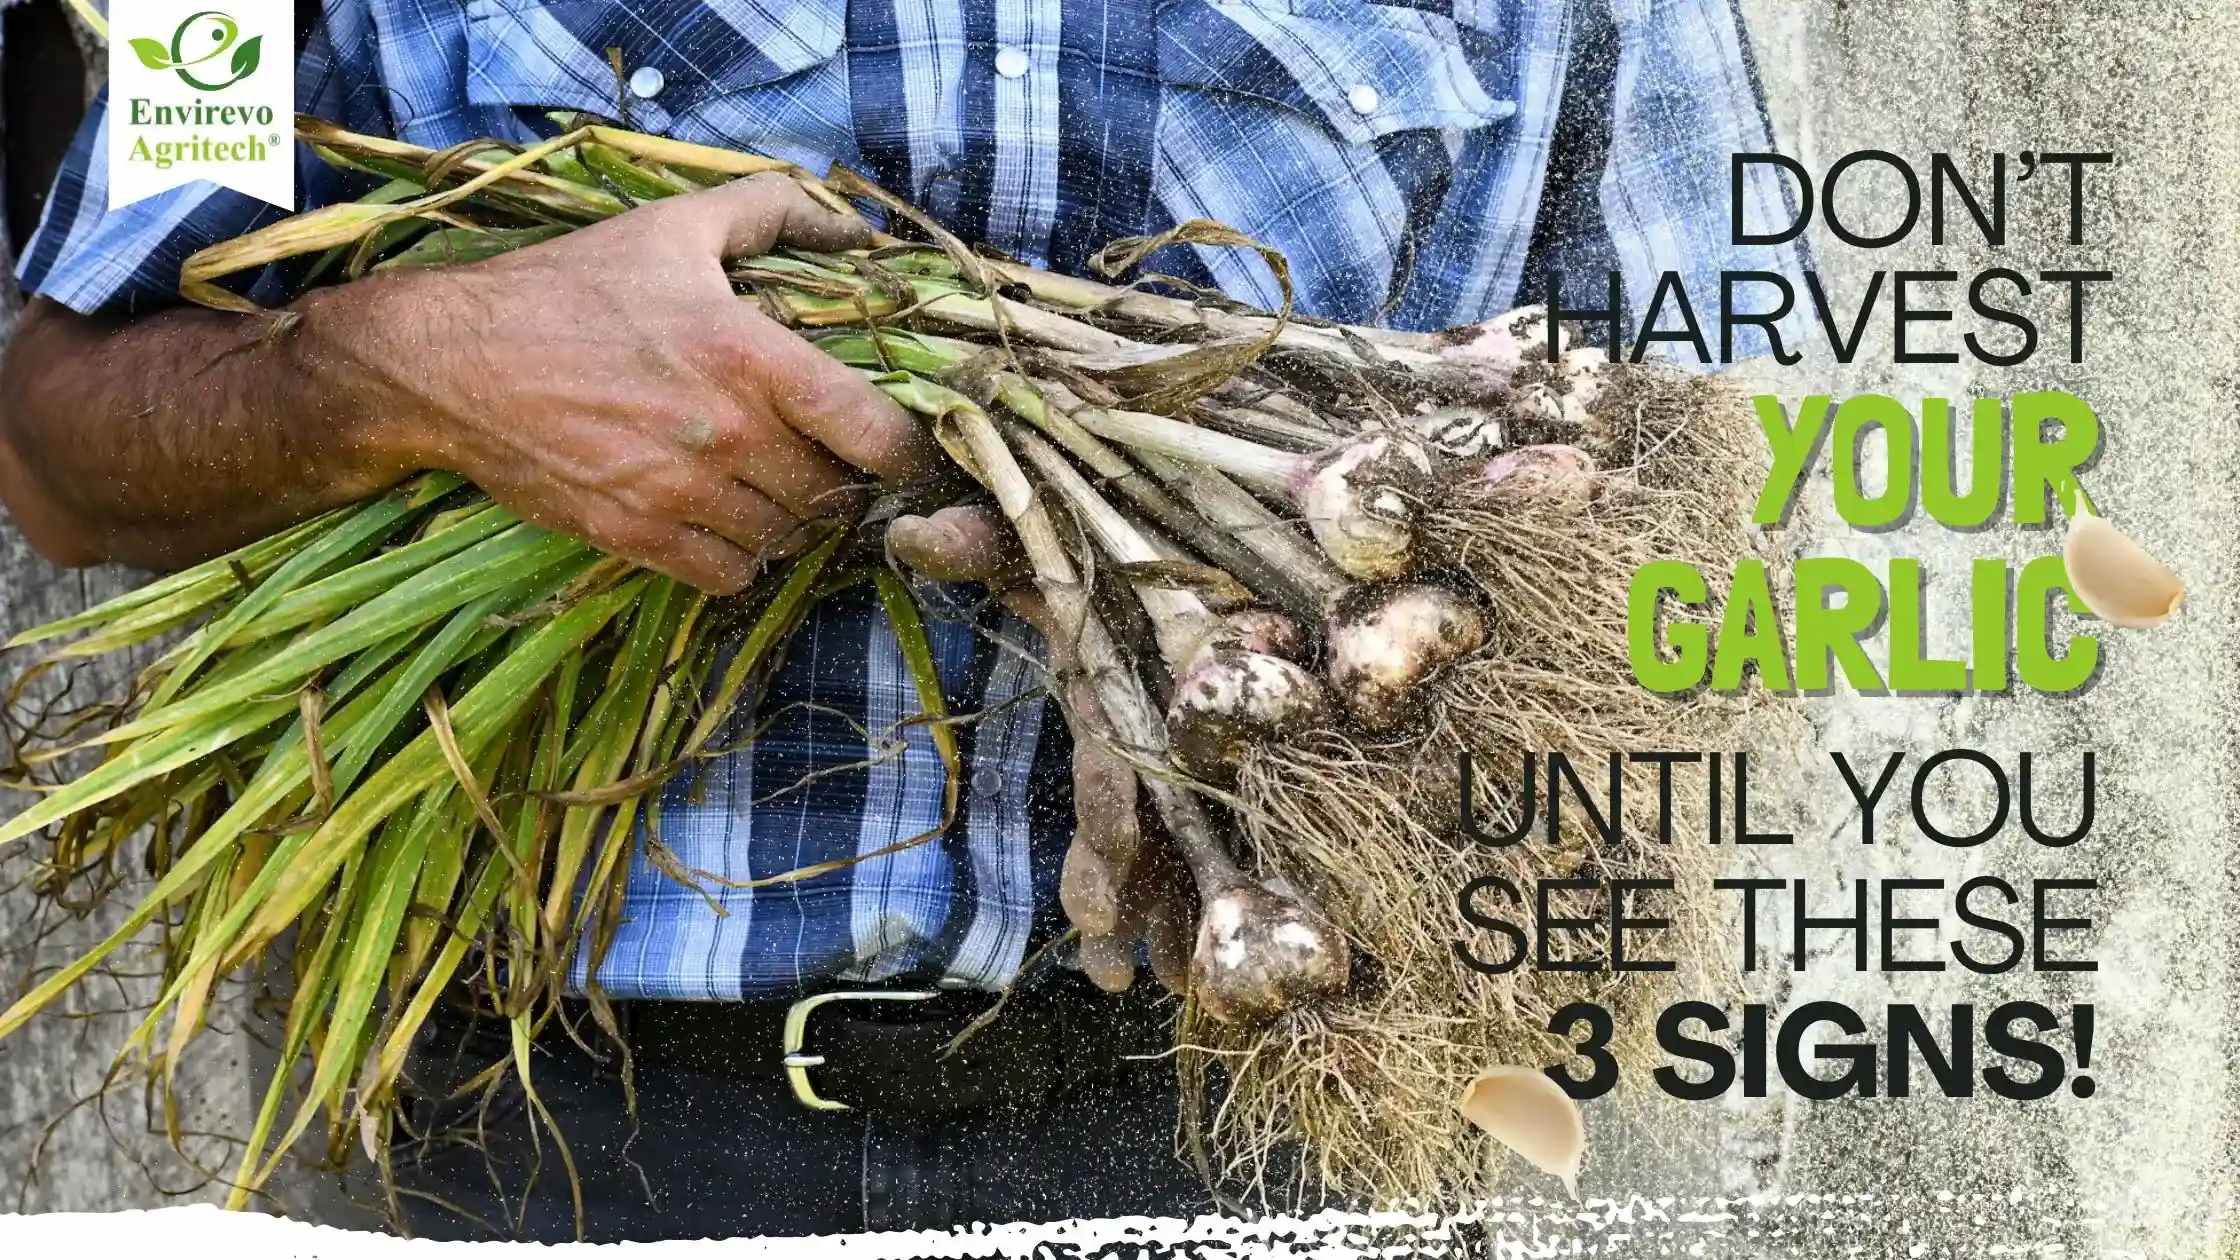
Garlic is one of the most rewarding crops to grow, both for its culinary versatility and its relatively low maintenance in the garden. But when it comes to harvesting, timing is everything. Harvest garlic too early, and you’ll be left with underdeveloped bulbs that lack flavor. Wait too long, and the cloves may split, making storage difficult and encouraging rot. So, when exactly is the right time to harvest garlic?
In this comprehensive guide, we’ll dive deep into the garlic growth cycle, key signs to look for, risks of poor timing, proper harvesting techniques, and how to cure and store garlic correctly. If you’ve been wondering when to harvest garlic, this article has all the answers you need.
Understanding the Garlic Growth Cycle
To determine the perfect harvest time, you first need to understand how garlic grows. Garlic typically follows a long growth cycle—usually about 8 to 9 months from planting to harvest. While the exact timing depends on your region and the garlic variety, understanding these growth phases will help you become a more informed gardener.
Planting Season and Varieties
Garlic is generally planted in the fall, around 4–6 weeks before the ground freezes. This gives the bulbs time to establish roots before going dormant in winter. However, some gardeners in milder climates plant garlic in early spring.
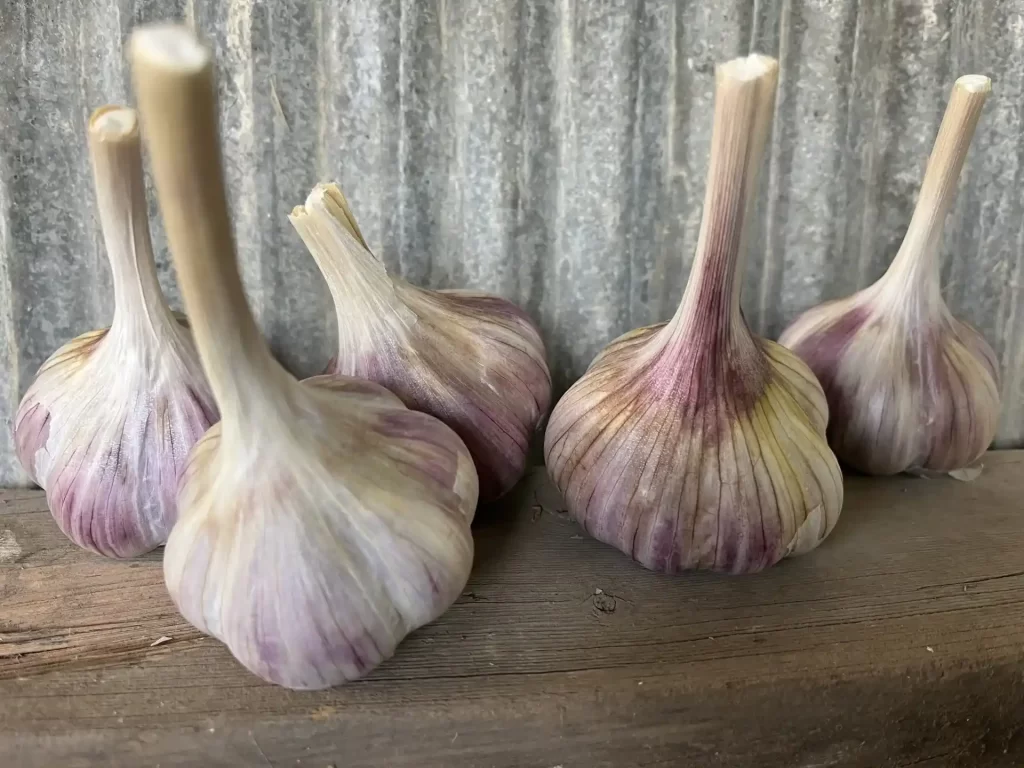
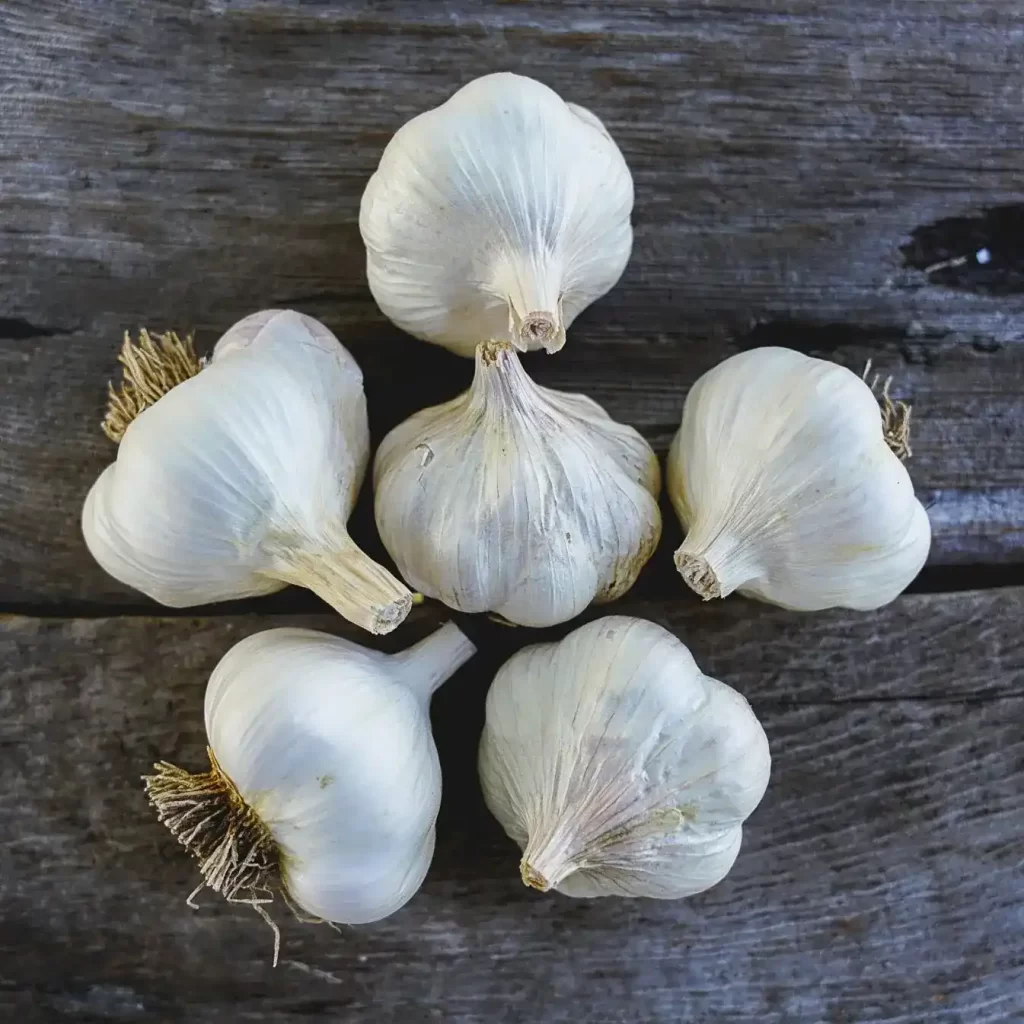
There are two main types of garlic:
- Hardneck Garlic: Known for its scapes and robust flavor, this variety is best suited for colder climates. It typically matures earlier.
- Softneck Garlic: Preferred for its long storage life and flexible stems (ideal for braiding), softneck varieties perform well in warmer climates.
Growth Phases
Garlic undergoes several critical growth stages:
- Root Establishment: After planting, garlic roots develop during the fall.
- Dormancy: Through winter, the bulbs remain dormant underground.
- Spring Regrowth: Warmer temperatures trigger green shoot development.
- Bulb Formation: By late spring or early summer, energy shifts to bulb growth.
- Maturity: This is when careful observation becomes essential to harvest at the right time.
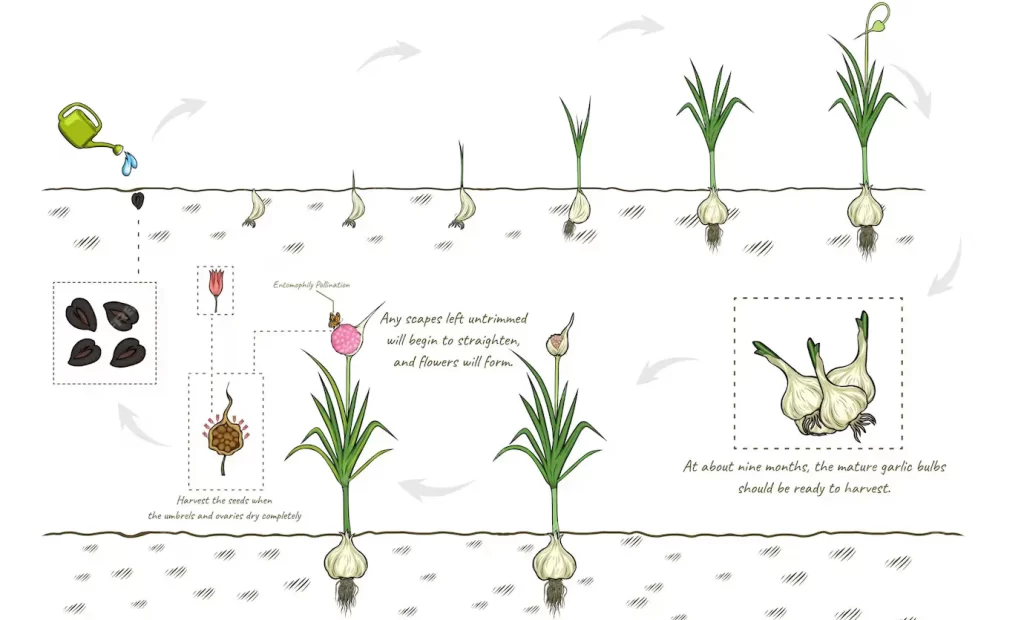
Knowing these stages helps you anticipate harvest time and avoid premature or delayed harvesting.
Key Indicators: When to Harvest Garlic
The most common mistake new garlic growers make is relying on a calendar date rather than visual and physical cues. Here are the most reliable indicators to help you determine when your garlic is ready to be harvested.
1. Leaf Color and Condition
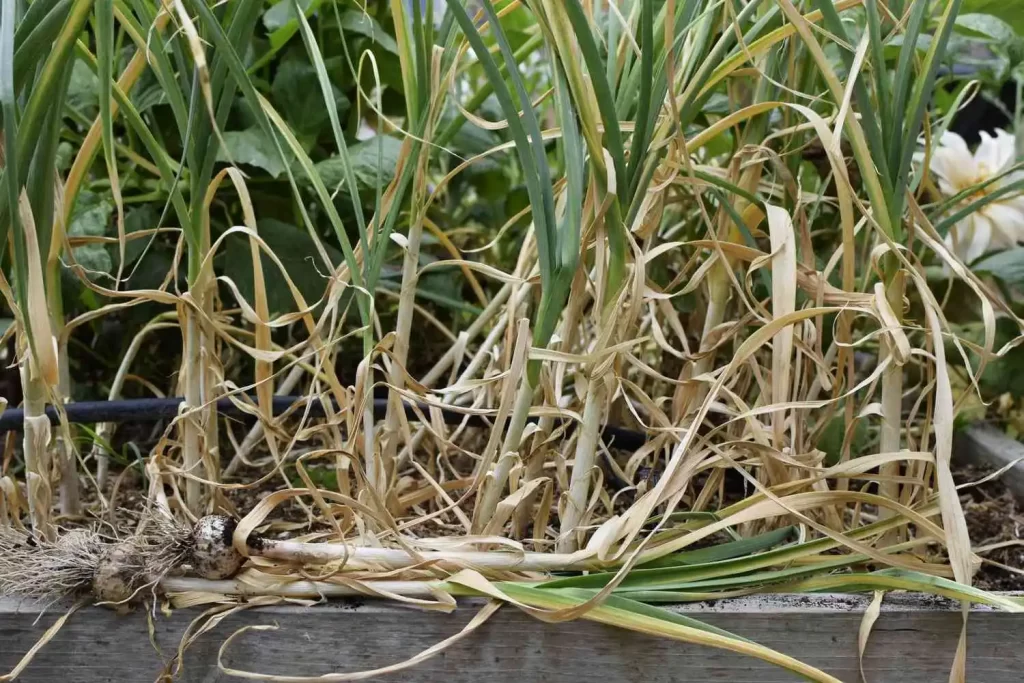
One of the most accurate signs is the condition of the garlic plant’s leaves. As garlic matures, the leaves begin to yellow and die back from the bottom up. This happens because the plant redirects its energy into bulb development.
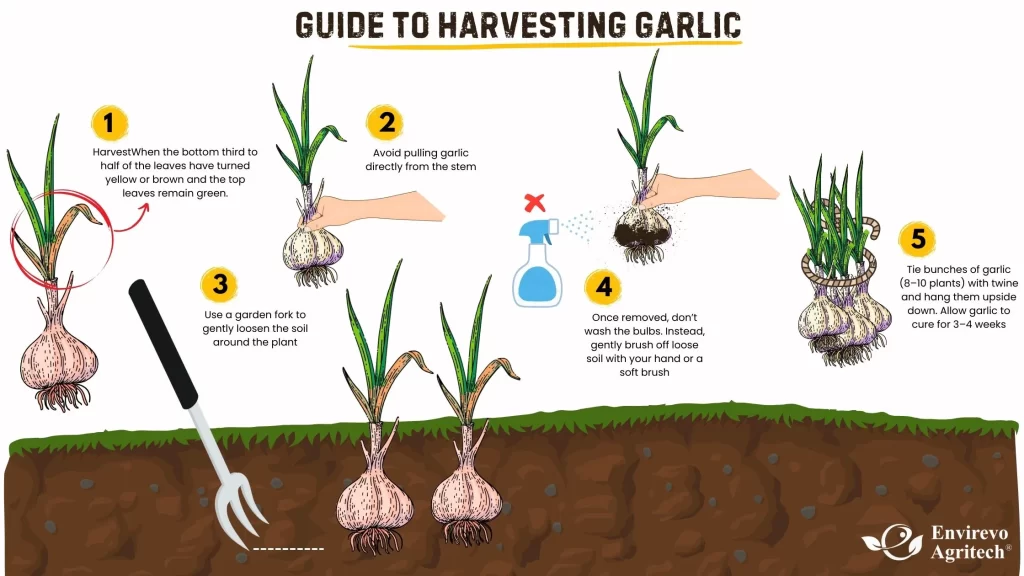
Ideal timing: When the bottom third to half of the leaves have turned yellow or brown and the top leaves remain green. This balance ensures the bulbs are fully formed but not overripe. Waiting too long for all the leaves to die may result in split bulbs with exposed cloves.
2. Scape Appearance (for Hardneck Garlic)
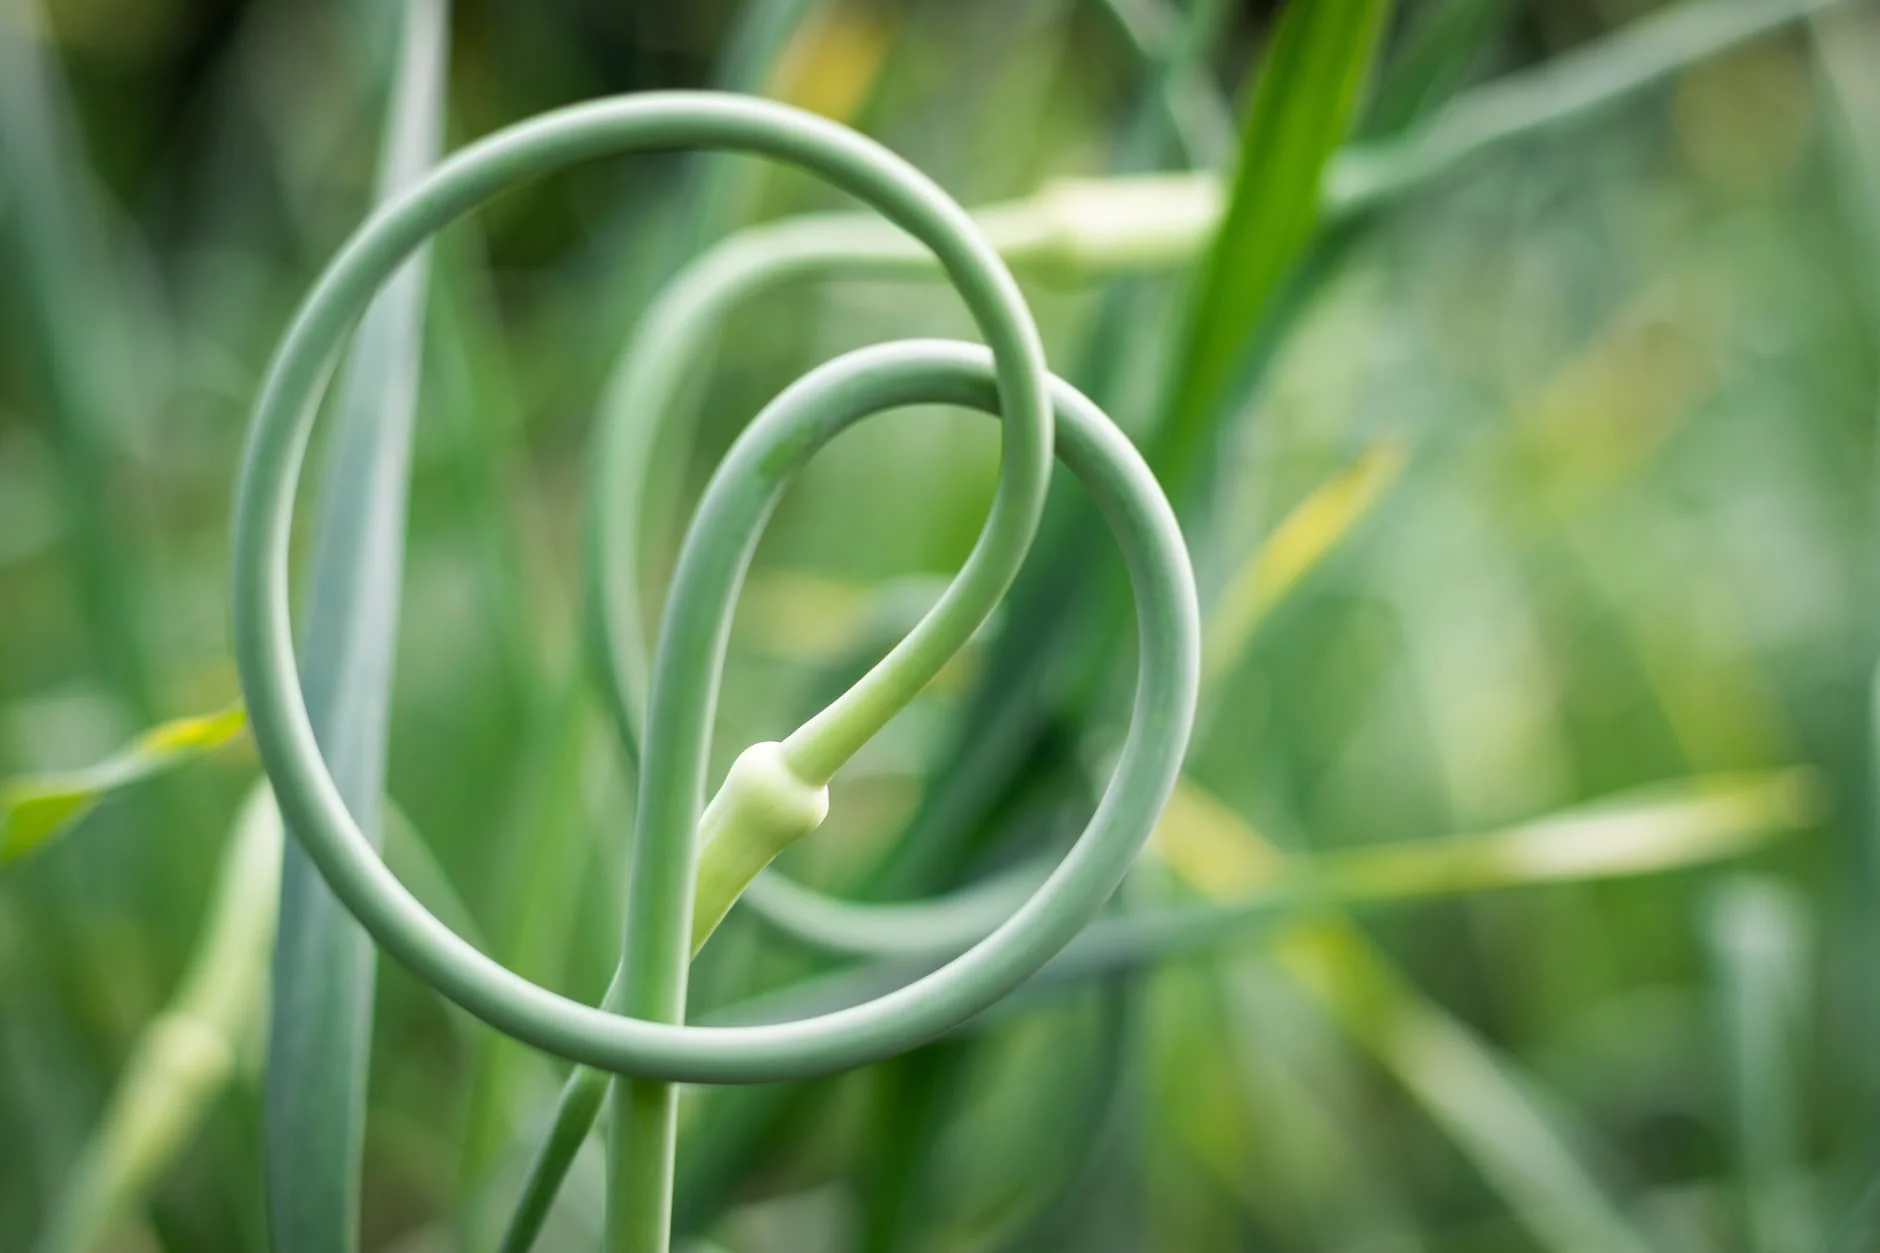
Hardneck garlic sends up a flowering stalk known as a scape. This curly green shoot appears about a month before the garlic is ready for harvest. Removing the scape helps direct the plant’s energy into bulb development.
Scapes should be removed once they curl into a full circle. This is also a good indicator that the plant is approaching maturity and you should start checking the bulbs more regularly.
3. Test Digging
Don’t be afraid to sacrifice a bulb or two to check on their progress. Use a garden fork to gently loosen the soil around the plant and pull up a bulb.
Examine the following:
- Bulb size: Should be plump and proportionate to the stem.
- Wrapper formation: The bulb should be wrapped in multiple layers of papery skin.
- Clove definition: Individual cloves should be distinct but not bursting through the wrappers.
If all these conditions are met, your garlic is ready to harvest.
Risks of Poor Timing: Too Early or Too Late
Understanding the consequences of bad timing is crucial. Harvesting garlic at the wrong time can reduce your yield’s quality, shelf life, and culinary value.
Harvesting Too Early
If you harvest garlic too soon, you’re essentially pulling it from the ground before it has fully developed. The bulbs will be small, the cloves tightly packed or indistinct, and the skins may be thin or incomplete.
Consequences:
- Poor flavor development
- Reduced size and density
- Difficulty curing due to incomplete wrapper formation
- Shortened shelf life
These bulbs may still be usable, but they won’t store well and may not meet your expectations for size and taste.
Harvesting Too Late
Waiting too long to harvest garlic is just as problematic. Over-mature garlic bulbs begin to split apart underground as the wrapper decays. This exposes the cloves to moisture, soil-borne pathogens, and pests.
Consequences:
- Cloves split or sprouting prematurely
- Higher risk of fungal infections or rot
- Difficulty curing and increased spoilage risk
- Shorter storage time
By the time all the leaves have died back, you’ve missed the ideal harvest window. That’s why checking the leaves and doing occasional test digs are so important.
Step-by-Step Guide to Harvesting Garlic
Now that you know when to harvest garlic, let’s walk through how to do it properly. The harvesting process requires patience, gentle handling, and the right tools.
1. Choose the Right Time
Plan your harvest on a dry day when the soil isn’t overly wet. Excessive moisture can make it difficult to dig up the bulbs cleanly and may introduce rot during curing. Late morning or early afternoon is ideal, once the dew has evaporated and temperatures are moderate.
2. Use the Right Tools
Avoid pulling garlic directly from the stem, which can damage the bulb. Instead, use a garden fork, spade, or hand trowel to loosen the soil around the bulb. Insert the tool 3–4 inches away from the plant and lift gently to avoid bruising or cutting the cloves.
3. Handle With Care
Once removed, don’t wash the bulbs. Instead, gently brush off loose soil with your hand or a soft brush. Do not remove the stem or roots at this stage. The entire plant should remain intact for the curing process. Stack harvested garlic in a crate or basket with ventilation and move it to a shaded, dry area immediately.
Curing Garlic for Long-Term Storage
Proper curing is essential to extend the shelf life of your garlic. This slow drying process helps harden the wrappers, improve flavor, and reduce the risk of rot during storage.
How to Cure Garlic
Cure garlic in a cool, dry, well-ventilated area out of direct sunlight. Garages, sheds, or covered porches work well as long as the air can circulate.
Methods:
- Hanging: Tie bunches of garlic (8–10 plants) with twine and hang them upside down.
- Racks or Screens: Lay garlic flat on mesh racks or drying screens in a single layer.
Curing Duration:
- Allow garlic to cure for 3–4 weeks.
- The skins should become papery, and the necks should feel dry and firm.
Avoid humid areas, which can cause mold, and don’t rush the process by applying artificial heat.
Post-Curing Cleanup
Once cured:
- Trim roots to about 1/4 inch.
- Cut stems to about 1 inch above the bulb (or leave longer for braiding softneck varieties).
- Peel away one or two dirty outer wrappers—be careful not to remove too many layers.
The result should be clean, dry bulbs with tight wrappers, ready for long-term storage.
Storing Garlic for Maximum Freshness
Proper storage is the final key to preserving your garlic crop. Done correctly, cured garlic can last for months without refrigeration.
Ideal Storage Conditions
- Temperature: 60–65°F (15–18°C)
- Humidity: Low (below 60%) to prevent sprouting or mold
- Airflow: Ensure plenty of ventilation to reduce moisture buildup
Store garlic in mesh bags, paper bags, woven baskets, or any breathable container. Avoid plastic or sealed containers, which trap moisture.
Storage Life by Variety
- Softneck Garlic: 6–8 months
- Hardneck Garlic: 3–5 months
Avoid refrigeration, which encourages sprouting. Keep garlic in a pantry, kitchen shelf, or basement where conditions are stable.
Common Garlic Harvesting Mistakes to Avoid
Even experienced gardeners make mistakes. Here are some common pitfalls and how to avoid them:
- Waiting for All Leaves to Die: This often leads to split bulbs. Watch for the 1/3–1/2 dead leaf threshold.
- Pulling Instead of Digging: Always loosen soil with a tool to avoid stem breakage.
- Washing Bulbs: Never wash garlic before curing. Moisture encourages mold.
- Storing in Plastic: Use breathable containers to maintain airflow.
- Skipping Scape Removal: Leaving scapes can reduce bulb size in hardneck varieties.
Final Thoughts: Timing Is Everything
When it comes to garlic, patience pays off—but only if you act at the right moment. Learning when to harvest garlic is part science, part observation, and part experience. Monitor leaf condition, perform test digs, and familiarize yourself with your garlic variety. With a little care, your harvest will reward you with rich, aromatic bulbs that last for months in your pantry.
So the next time you’re unsure about whether it’s too early or too late—trust the signs your garlic gives you. It’s the best guide you have.
Ready for your next gardening challenge? Don’t forget to check out our guides on planting garlic, managing pests naturally, and choosing the best soil amendments for alliums.
