Table of Contents
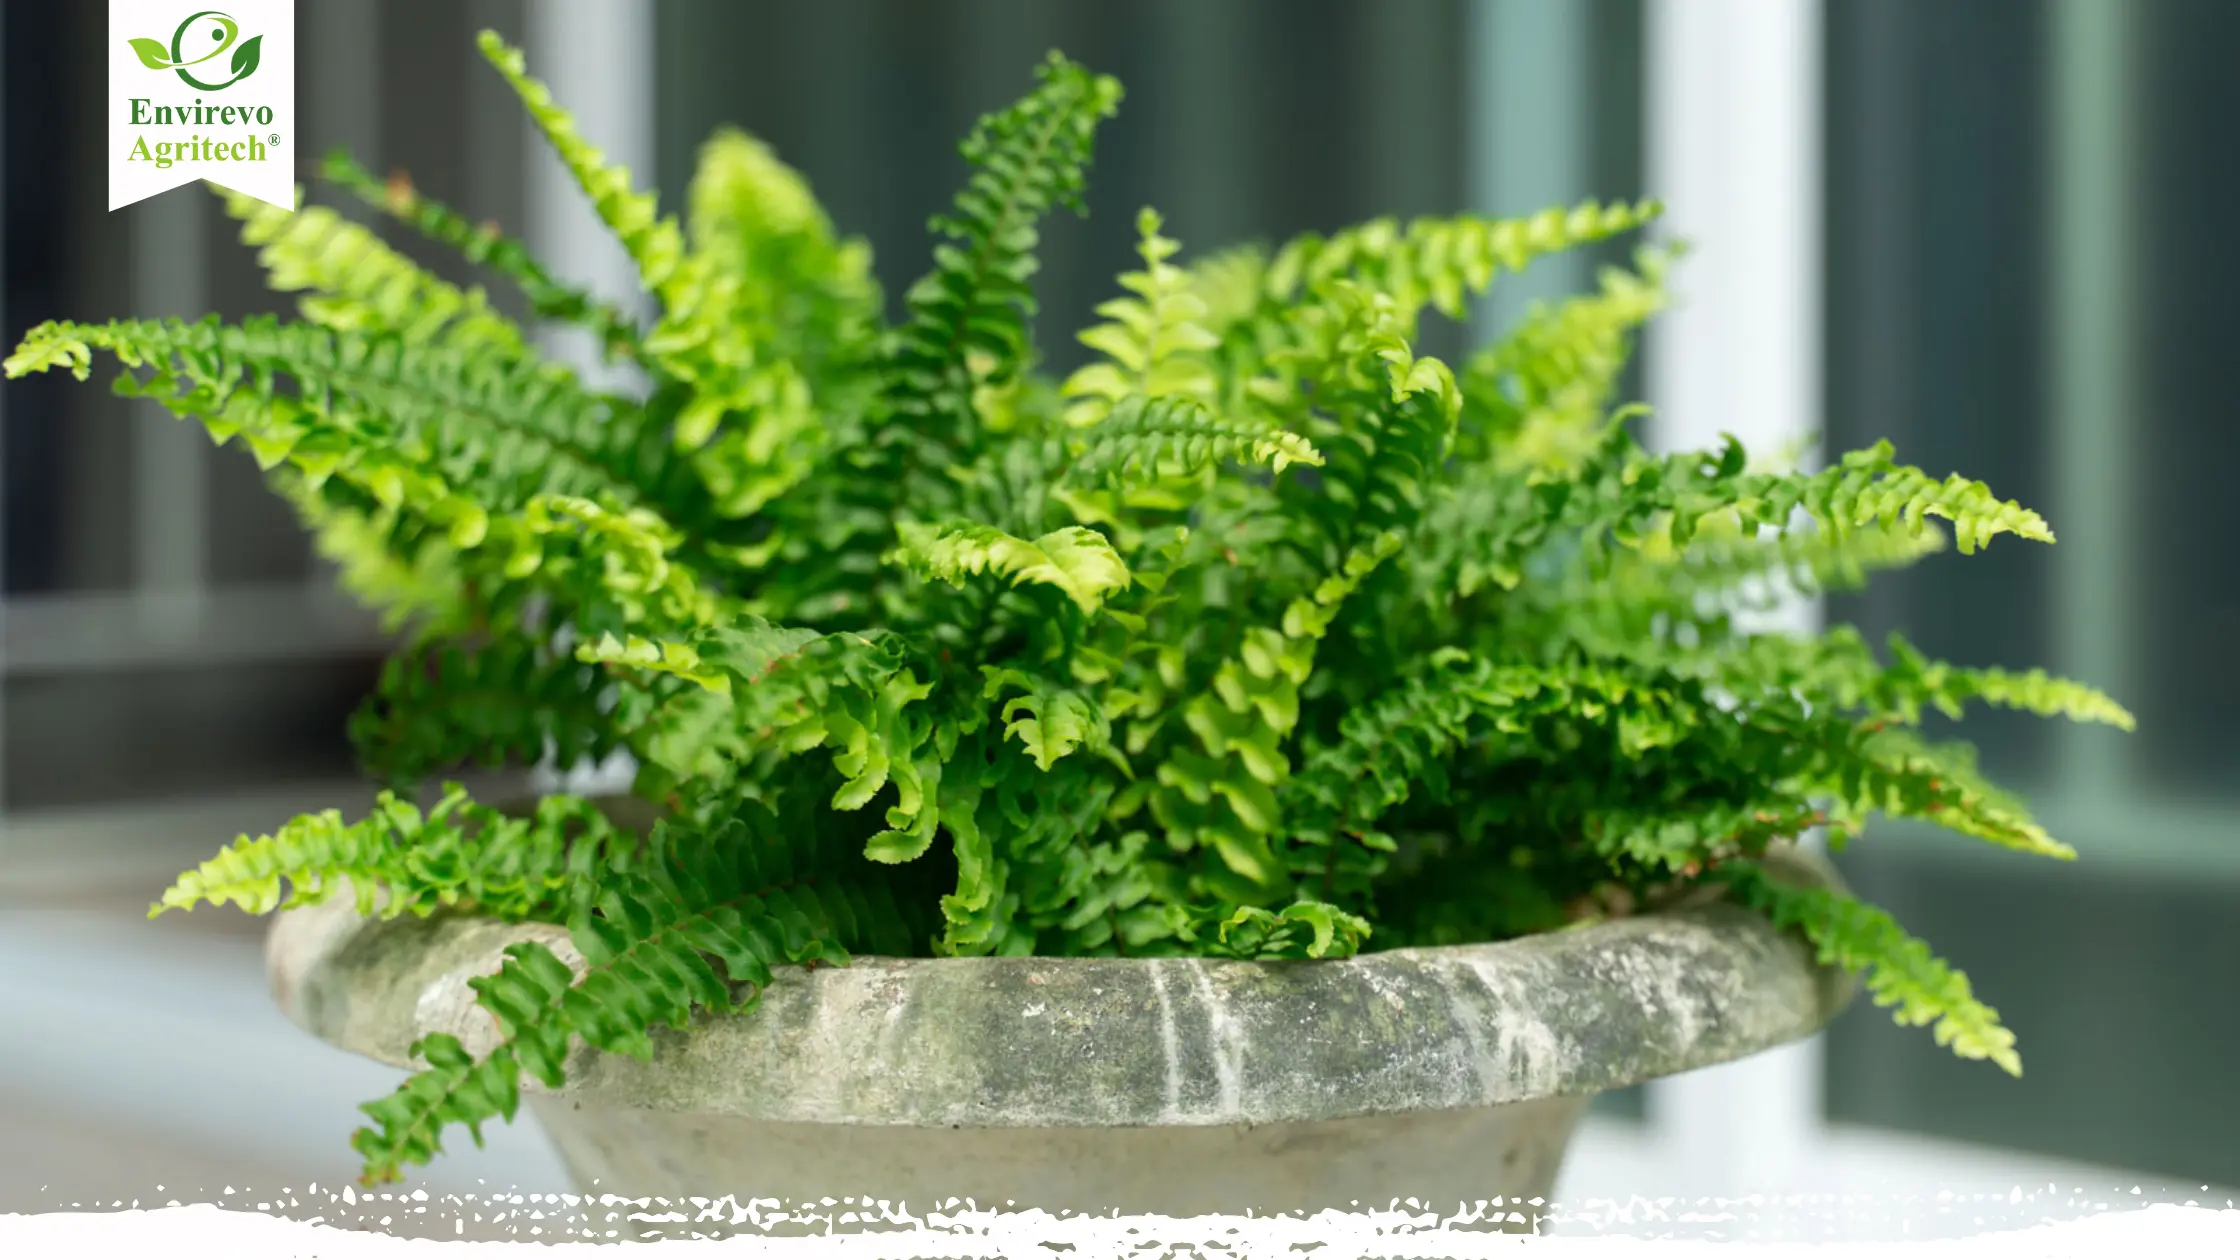
Boston ferns (Nephrolepis exaltata ‘Bostoniensis’) have graced gardens and parlors for more than a century, and with good reason. These elegant plants, with their suspended feathery fronds and natural air-purifying abilities, bring both beauty and wellness to every space. Discovered accidentally in a shipment of ferns sent from Philadelphia to Boston in 1894, this natural phenomenon of the tropical sword fern has evolved into one of the planet’s most beloved houseplants.
What makes Boston ferns so attractive is that they possess a two-in-one attribute of ornamental good-looks plants and air-purifying purifiers. Boston ferns are consistently on NASA’s Clean Air Study list of top plants for removing indoor air pollutants such as formaldehyde, xylene, and toluene from homes. The use combined with aesthetics has endeared them to plant enthusiasts and health-conscious homeowners worldwide.
Understanding Your Boston Fern
Boston ferns belong to the family Nephrolepidaceae and are indigenous to subtropical and tropical America. Boston ferns naturally exist as terrestrial and epiphytic growth in wet forests, swamps, and shaded woodlands extending from northern South America to Mexico, Florida, and the West Indies. They will become very large in the wild and reach a height of 7 feet under the best growing conditions.
The feature of the Boston ferns is the elegantly curved fronds, hence sets it apart from the upright habit of the mother plant. The maximum length the fronds can reach is 2-4 feet, and 6 inches wide, with alternate pinnae and denticulate margins that create their feather-like appearance. The fronds rise from tuberous and narrow underground rhizomes that serve to store water in a way that makes the plant drought-hardy.

| Category | Specification |
|---|---|
| Botanical Name | Nephrolepis exaltata ‘Bostoniensis’ |
| Common Names | Boston Fern, Sword Fern, Boston Sword Fern, Wild Boston Fern |
| Plant Family | Nephrolepidaceae (Lomariopsidaceae) |
| Plant Type | Evergreen Perennial Fern, Houseplant |
| Hardiness Zones | USDA Zones 9-11 (outdoor), Zone 4+ (indoor) |
| Height | 2-3 feet (60-90 cm), up to 7 feet in wild |
| Spread/Width | 2-4 feet (60-120 cm) |
| Frond Length | 2-4 feet long, 6 inches wide |
| Sun Exposure | Bright indirect light, partial shade to full shade |
| Soil Type | Well-draining, rich in organic matter, loamy |
| Soil pH | Slightly acidic to neutral (5.0-6.5) |
| Water Needs | Consistently moist, not soggy |
| Humidity Requirements | High humidity (60-80%+) |
| Temperature Range | 60-75°F (15-24°C) daytime, 55-65°F (13-18°C) nighttime |
| Growth Rate | Fast to moderate |
| Maintenance Level | Low to moderate |
| Fertilizer Needs | Light feeder, monthly during growing season |
| Toxicity | Non-toxic to humans and pets |
| Air Purification | Excellent air purifier (NASA Clean Air Study) |
| Deer/Rabbit Resistance | Resistant |
| Propagation | Division, runners, spores |
| Season of Interest | Year-round (evergreen) |
| Container Growing | Excellent for containers and hanging baskets |
| Native Range | Tropical Americas, Florida, West Indies |
Essential Boston Fern Care Requirements

Lighting Conditions for Optimal Growth
Boston fern care, to a large extent, is predicated on limited information since the plants come with embedded taste due to their natural forest floor background. Boston ferns do well in bright but indirect light, which simulates canopy shade filtering the sun in their natural habitat.
- Indoor Placement: Put your Boston fern in north windows or locations with bright indirect light. East windows are fine, with soft morning light, but west and south windows require sheer drapes or be several feet from the glass to avoid burned leaves. The best interior setting gets a minimum of 2-4 hours of indirect light per day.
Signs of Improper Lighting: Too much direct sunlight causes browning and development of crunchy brown frond margins and will result in complete wilting. Too little light causes elongated, drawn-out fronds that lose their arched habit and become pale or pale yellow-green in color. If your fern has long, wilted fronds, begin to increase the light gradually.
- Outdoor Considerations: When planting Boston ferns outdoors, select dappled shade or filtered sunlight areas. Morning sun and afternoon shade would be great, but avoid the direct midday sun, which will burn the tender fronds. Porches, pergolas, and spaces under big trees are great outdoor conditions.
Watering Schedule
Good watering is perhaps the most important part of Boston fern cultivation, as it must have a fine line between always wet and never waterlogged ground. They prefer soil that is wet but not damp, which is similar to their environment of misty forest floors.
- Frequency Guidelines: Water Boston fern indoors 2-3 times a week when it is growing (spring and summer), and check daily for moisture. More frequently to once a day outdoors on super hot, dry days. Reduce winter months watering to every 3-4 days or when the top inch of soil feels dry to the touch.
Recognizing Watering Problems: Yellowed fronds, moldy-smelling soil, and rotting roots are overwatering symptoms, whereas underwatering is characterized by brown, crispy frond tips and a wilted appearance. The remedy is always damp but not wet soil with a wrung sponge texture.
Humidity and Temperature Management
Boston ferns are tropical plants that thrive well in high humidity and need to be nurtured under special environmental conditions to grow well. Familiarity with these conditions and management of them is important to keep the plants healthy and growing throughout the year.
- Optimal Humidity Levels: Boston ferns are happy with relative humidity at and greater than 80%, but will also thrive in 60-70% humidity if proper care is provided. This requirement for high humidity levels is due to their tropical background and the method by which they are able to take up water from their fronds and roots.
- Temperature Requirements: Boston ferns prefer medium temperatures of 60-75°F (15-24°C) during the day and cooler night temperatures of 55-65°F (13-18°C). This temperature is also extremely close to their original tropical habitat and helps achieve perfect growth.
- Seasonal Temperature Management: Provide the outdoor ferns with protection from temperatures over 95°F (35°C) in summer by shading the ferns and providing them with additional watering. Maintain indoor temperatures at least 55°F (13°C) in winter and refrain from placing the ferns in front of heating vents or cold air currents, generating temperature fluctuations.
Soil, Feeding, and Repotting

Creating the Perfect Soil Mix
The key to excellent Boston fern care is employing the proper potting medium. They prefer soil that balances moisture retention with drainage, the same as the rich, damp woodland floor they originally grow on.
- Best Soil Structure: Far superior to Boston ferns are rich, well-draining soil with slightly acidic to neutral pH 5.0-6.5. Ideal soil composition should have 30-40% organic matter to hold water and supply necessary nutrients, and 20-30% drainage additives to avoid waterlogging.
- Homemade Soil Recipe: Make a superior growing medium by adding:
- 40% top-shelf potting soil or peat mix
- 30% organic matter (compost, well-rotted leaf mold, or aged bark)
- 20% drainage medium (perlite, coarse sand, or vermiculite)
- 10% sphagnum peat moss to ensure pH control and water control
Comprehensive Fertilizing Guide
Boston ferns are light feeders compared to a vast majority of houseplants, but they need to be fed occasionally to present their best. What the season needs in feeding and fertilizers to use is required to provide optimum growth.
- Seasonal Fertilizing Schedule: Boston ferns need to be fertilized once a month during the active growing season (spring and summer) with a balanced, water-soluble fertilizer. Summer feeding employs a 20-10-20 NPK ratio at half label concentration to prevent burning by the fertilizer. Feeding less often in late winter and autumn, when growth is significantly slowed, occurs every 2-3 months.
Repotting Guidelines
Boston ferns prefer to be repotted frequently to replace their growing medium and give them enough room for root development. Data on timing and method of repotting brings long-term growth health.
- How Often to Repot: Repot Boston ferns every 1-2 years, ideally in early spring when new growth is observed. When the roots are growing out of the drainage holes or the plant is extremely root-bound, repot sooner, season aside.
Choose a new pot 2 inches bigger in diameter than the one it currently sits in. Don’t over-size it, though, because if there is too much soil, there will be too much water and root rot will develop. Make sure the new pot has adequate drainage holes.
Repotting Process:
- Water the fern 24 hours before repotting to minimize transplant shock
- Carefully take the plant out of the existing container with caution, unwrapping any wrapped-around roots
- Discard old, spent soil and trim off any broken or rotting roots
- Fill the new container with fresh potting mix and set the fern level
- Tuck in firmly about roots with fresh soil, but don’t compact
- Water well and sit in bright, indirect light to recover
Post-Repotting Care: Keep humidity slightly higher after repotting and do not fertilize for 4-6 weeks to enable the plant to adjust to new conditions. Check for signs of stress and water accordingly.
Pruning and Maintenance

Boston ferns are properly pruned to maintain them at their best health and appearance and to avoid recurring disorders due to congested or damaged leaves. Effective pruning stimulates new growth and helps keep the plant in its classic stately shape.
- When to Prune: Severe pruning is best early in the spring, pre-growing season. Routine maintenance pruning, on the other hand, can be performed at any time of the year whenever necessary. Remove any damaged, yellowed, or dead fronds immediately to prevent possible disease issues.
- Pruning Tools and Method: Prune with clean, sharp frond clippers or rubbing alcohol-sterilized pruning shears to avoid disease transmission. Cut cleanly at the soil line where fronds are rooted to the crown, cutting at the bottom of fronds. Never pull or tear fronds since this will hurt the crown and provide entry points for pathogens.

What to Remove: Focus on removing:
- Dead, yellow, or brown fronds
- Broken or damaged fronds
- Crowding new growth in the center of the plant
- Any fronds with pest or disease damage
- Growth too long or tatty to impair the conformation of the plant
Cleaning and Maintenance
In addition to pruning, Boston ferns need to be cleaned sometimes so that they will photosynthesize as well as possible and prevent pest problems. The work is minimal but essential to maintain long-term health.
- Frond Cleaning: Fronds become dusty and plugged with dirt, hindering their photosynthetic activity. Dust fronds with a damp cloth weekly, or bathe the plant monthly in warm water. Large plants will require a soft brush for dust and dirt cleaning.
- Grooming for Health: Tug off yellowing leaflets frequently before they infest whole fronds, inspect for pest problems, and provide excellent air flow around the plant. Good air flow discourages fungal disease without depriving ferns of the humid life they thrive on.
Troubleshooting Common Problems
| Disease | Symptoms | Causes / Conditions | Treatment |
| Pythium Root Rot | Fronds turn gray, wilt, or become stunted; roots appear brown and rotted instead of white | Overwatering, contaminated soil, poor drainage | Remove affected roots, repot in fresh sterile soil, apply fungicide |
| Bacterial Blight | Translucent spots that enlarge into reddish-brown lesions with purple halos | Overhead watering, poor air circulation, spread via water droplets or contact | Isolate or discard infected plants to prevent spread |
| Leaf Spot Diseases | Brown or black spots on fronds | Fungal pathogens; encouraged by high humidity, poor air circulation, overhead watering | Remove affected fronds, improve air circulation, apply fungicide if needed |
| Gray Leaf Syndrome | Fronds appear gray and stunted | Drought stress; may be worsened by nematodes or root rot | Adjust watering practices, check roots for nematodes or rot |
| Pest | Identification | Damage/Conditions | Treatment |
| Spider Mites | Tiny pests; may produce fine webbing; cause speckling or yellowing of fronds. | Thrive in low humidity conditions. | Increase humidity, wipe fronds with damp cloths, apply insecticidal soap or neem oil. |
| Scale Insects | Appear as small, round or pear-shaped bumps on frond undersides. Fern scale (Pinnaspis aspidistrae): light brown females (~1/12 in), smaller white males. | Sap-sucking pests that weaken plants. | Manual removal, insecticidal soap, or horticultural oil. |
| Aphids | Black fern aphid (Idiopterus nephrelepidis) found on frond undersides. | Rarely cause severe damage but can weaken fronds. | Insecticidal soap, or systemic treatments like imidacloprid (soil drench). |
| Mealybugs | Small, white, cottony insects on fronds. | Feed on sap, causing frond yellowing or curling. | Wipe off with alcohol-dipped cotton swabs, or use insecticidal soap treatments. |
Boston fern issues usually have their origin in environmental conditions and not pests or disease. Knowledge of these and solutions ensures long-term healthy plants.
- Brown Tip Fronds: So prevalent a problem usually stems from low humidity, inconsistent watering, or excessive fertilizing. To correct, introduce humidity using pebble trays or humidifiers, give even soil moisture, and decrease fertilizer application.
- Yellowing Fronds: Yellowing may happen naturally because of aged fronds, but total yellowing generally suggests watering issues, poor light, or nutrient lack. Inspect and modify watering habits, lighting, and fertilizer application if necessary.
- Drooping or Wilting: Both underwatering and overwatering may be indicated by these symptoms. Diagnosis is essential. Check the soil moisture and the condition of the roots to determine why. Overwatered plants will have rotting, foul-smelling soil and roots and underwatered plants have dry soil and wilted frond tips.
- Poor Growth or Sparse Fronds: Poor light, poor nutrition, or being root-bound tend to cause these. The remedy involves moving the plant to more light, changing fertilizing cycles, or potting out in new soil with sufficient container room.
Propagation Methods
Division: The simplest method of propagation
Division is the best and quickest way of propagating Boston ferns, best used for plants that have formed some crowns or are root-bound. It’s a good method of dividing a single plant into several separate plants that are strong enough to be grown separately.
- Best Time: Split in early spring when plants are beginning to enter their active growing period. The reason for this is that the newly split plants will have time to root and adjust to normal conditions when the growing season is optimal. Split in winter when the plants are dormant and need time to adjust to normal.
- Preparation Steps: Water the parent plant well 24 hours before division to minimize transplant shock. Prepare sterilized tools such as clean and sharp scissors or knives, fresh potting soil, and containers of appropriate sizes for new divisions.
Division Process:
- Remove the entire plant from the pot, and remove excess soil to reveal the root system
- Locate natural break points where the plant has produced numerous crowns or distinct sections
- With fresh, sharp tools, divided into sections so each section has at least one decent healthy crown with roots on them
- Trim off any smashed or excessive roots but not the good white roots
- Pot each division into fresh potting mix to same depth as original plant
Post-Division Care: Suspend new divisions in light, indirect conditions and hold the relative humidity at a higher level for 2-4 weeks as they acclimatize. Water sparingly to keep soil moist but not waterlogged, and avoid fertilizing during recovery for 4-6 weeks to avoid burning the roots.
Runner Propagation
Boston ferns also produce runners (stolons) naturally – lengthy, thin stems emanating from the mother plant that will establish new plants once they touch the ground. The natural propagation can be used for propagating new plants.
Identifying Runners: Look for green, stretched-out stems emanating from the mother plant that will have small plantlets along their length. Runners are usually dangling stems from hanging baskets or dangle stems from pots.
Method of Propagation:
- Obtain healthy runners with visible root development or small plantlets
- Place small pots of wet potting soil under the developing plantlets with the runner still attached to the parent
- Gently insert the runner section with roots into the soil surface, but do not bury
- An equal quantity of moisture to moisten the parent plant and the new rooting medium
- Remove the runner between the parent plant and the new plant when the new plant indicates independent growth (usually 4-8 weeks)

Spore Propagation: Advanced Method
Although more complicated and time-consuming, spore propagation is an interesting method to produce Boston ferns from their reproductive structures. Spore propagation is troublesome and time-consuming, but can be worth it for serious horticulturists.
How to Learn About Fern Reproduction: Boston ferns drop their spores in small, rounded patches referred to as sori, on the ground beneath mature fronds. The brown or black spots comprise thousands of minute spores, which under suitable conditions will grow into new plants.
Spore Collection: Harvest spores from mature, healthy fronds by putting a frond in a paper envelope and letting spores fall naturally in a few days. Use newly harvested spores for optimal germination and do this as soon as possible.

Germination Process:
- Make an equal mixture of peat moss and sand as sterilized growing medium
- Soak medium and put in shallow pans with drainage
- Sprinkle lightly on the surface but not encasing spores
- Seal in plastic wrap for holding very humid conditions
- Keep in 70-75°F (21-24°C) light, indirect temperatures
- Perpetuate even moisture by bottom watering to prevent spore disturbance in any possible way
Developmental Schedule: Germination of the spores will generally occur after 2-4 weeks, first growing into small, heart-shaped structures or prothallia. These will further grow into recognizable fern plants after a few months, so constant observation and gradual progression towards normal growing conditions are necessary.
Important Note: The majority of commercial varieties of Boston fern, i.e., ‘Bostoniensis’, are sterile and will not produce fertile spores. Runner propagation and division remain the safest means for such cultivars.
Boston fern care is all about striking the right balance between knowledge of natural environment requirements and effective adoption of standard care practices. These lovely plants repay diligent care with rich, refined fronds that cleanse indoor air and fill a room with living works of nature sculpture. The key to Boston fern success lies in the sensitive balancing of sufficient moisture and proper drainage, of allowing bright indirect light, of utilizing proper humidity, and being sensitive to shifts in care by season.
With the exact instructions in this guide – from basic everyday care up to advanced cultivation methods – you should be able to grow Boston ferns that not only live but thrive, providing years of natural beauty and air conditioning for your home. Remember that patience and observation are part of good plant care because each room and each plant will need slight adjustments in order to produce the best results.
FAQs
Where is the best place to put a Boston fern?
The best place to put a Boston fern is in bright, indirect light, such as near a north or east-facing window, away from direct sunlight and drafts.
How often should I mist a Boston fern indoors?
Mist a Boston fern indoors 2-3 times per week to maintain high humidity around the plant.
Are Boston Ferns Toxic to Cats and Dogs?
Boston ferns are non-toxic to cats and dogs, making them safe for households with pets.
What are the negative effects of ferns?
Negative effects of ferns include potential allergic reactions in sensitive people and the risk of overwatering leading to mold or root rot in the plant environment. Some ferns can be mildly toxic, but Boston ferns are generally safe.